

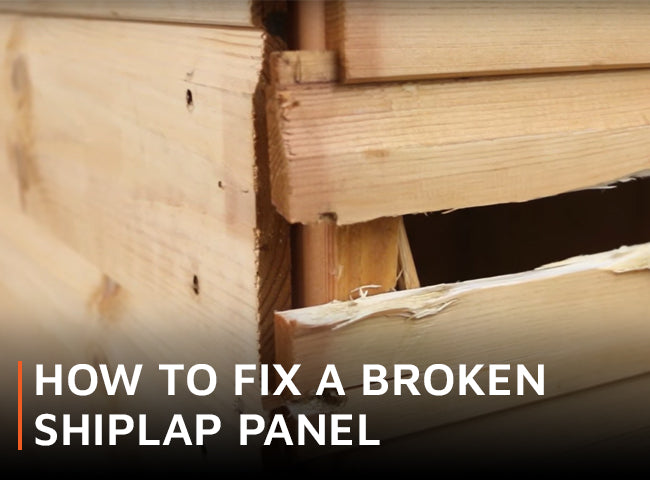
Even the best quality sheds can suffer from damage and neglect. But the beauty of a shiplap timber building is how easy it is to repair.
Here's our step-by-step guide to replacing damaged shiplap boards. All you need to get started are replacement boards, a hammer, screwdriver, nails, and a wooden block for tapping out old boards.
You will need:
- Replacement boards (one for each damaged board, and an extra one)
- Screwdriver
- Hammer
- Nails
- Block of wood to tap boards in and out

Step 1: Remove corner trims by undoing the screws that hold them into place.
Step 2: Tap the nails through the broken board into the frame behind. You can use a screwdriver to push these through with a hammer.

Step 3: Slide the board out. this can be difficult in damp weather due to the wood swelling. Use a block to tap out the board.
Step 4: If the wood has swollen, remove a second board to create more space for new, unexpanded boards.
Step 5: Slot the first replacement board into place, and nail to the framing to secure. Make sure the end of the board is flush with the panel before nailing into place.

Step 6: The second board should now neatly slide into place, but it may be a snug fit. Use a block to tap it into place, and nail to secure, again, making sure that it's flush.
Step 7: Coat the boards with protective treatment to help prevent rot.

Step 8: Re-affix the corner trims, and your job is complete!
In this quick video, we show you how to repair a damaged shiplap tongue and groove board on a shed panel. Check out our tutorial and instructions for repairing it like a Waltons pro.
