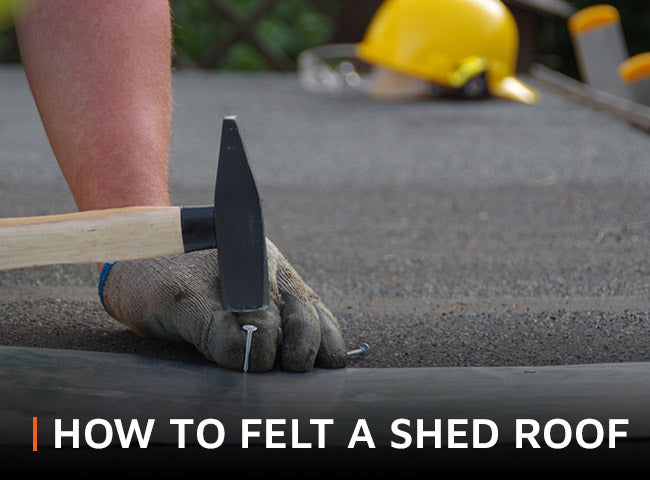
Does your shed's roofing felt need replacing? Fitting a felt roof is easy when you know how. All you need is a ladder, a few basic tools, and this free guide and video tutorial.
At a glance:
- Measure and cut the felt
- Lay out and affix the felt
- Add the capping felt
- Finish the shed roof
- Maintenance
You’ll need:
- Hammer
- Utility knife
- Ladder
- Screwdriver
1. Measure and cut the felt
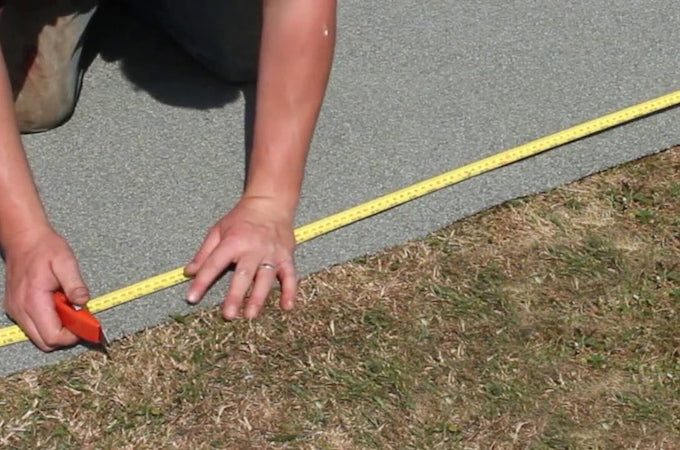
Image: Waltons
Measure the length of your roof, and cut a strip of felt to size, allowing a couple of inches either end for overhang.
2. Lay out and affix the felt
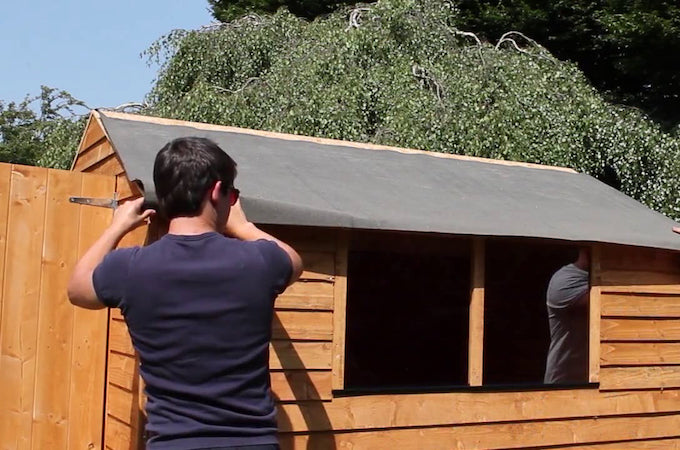
Image: Waltons
Roll the felting out over the roof, and smooth out any creases.
Tack it in place with tacks around six inches apart along the edge, then tack along the edges of the roof batons and gable tops.
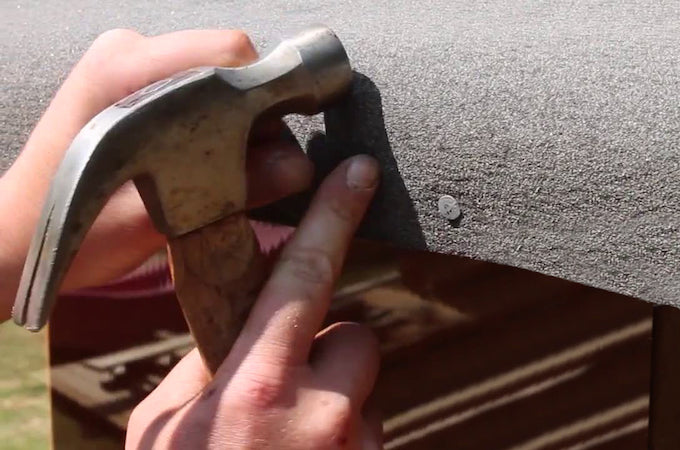
Image: Waltons
Repeat for the opposite side. You may need two or more strips either side, depending on the size of your shed.
3. Add the capping felt
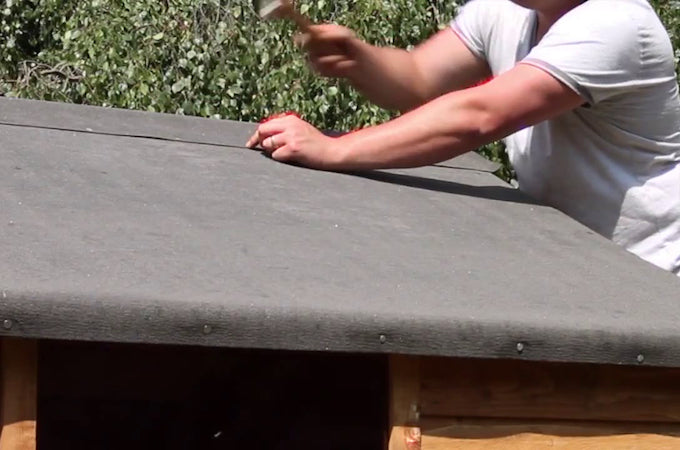
Image: Waltons
Now that both eaves of your shed are covered, measure and lay a final piece of felt along the apex of the shed. This is your ‘capping felt’. Tack this down on either side at six inch intervals.
4. Finish the shed roof
Affix the fascia boards and finials to the ends of the building. Drill pilot holes before screwing them on to avoid splitting the wood.
5. Maintenance
Check your felt regularly (at least annually) for signs of wear and weathering. If individual strips show signs of damage, they can be replaced without having to renew the entire roof. Check out our guide for repairing shed roof felt. In the meantime, have a look at how the Waltons experts fit roofing felt to a shed roof.


