If you’d like to brew your own beer but don’t have a huge amount of space, why not create a shed-brewery in your garden? A large workshop shed or log cabin is the perfect place to set up your very own home microbrewery. And it brings a whole new meaning to the words “Beer Garden.”
What are the benefits of brewing in a garden shed?

Image: Shutterstock
Homebrew is often lower in calories than commercially produced beer and lager, it’s free of additives, and it’s environmentally friendly. What might once have been about saving money, is now just as likely to be about quality, flavour and control. Some amateurs are even giving professional breweries a run for their money.
But brewing beer at home requires space that a normal household kitchen can’t accommodate. Move your equipment to a dedicated garden building or “brew shed”, and you could have your very own space for making, fermenting, storing and even drinking your own brews. There’s a fair amount of kit involved, and household harmony will definitely be improved by taking the somewhat smelly process out into the garden!
Whether you’re a beginner brewer or an aficionado who cultivates your own strains of yeast, setting up a microbrewery in your shed will allow you to enjoy the process without interfering with the day-to-day running of your home and kitchen. Who knows, your hobby may even turn into a career.
What shed is best for homebrewing?

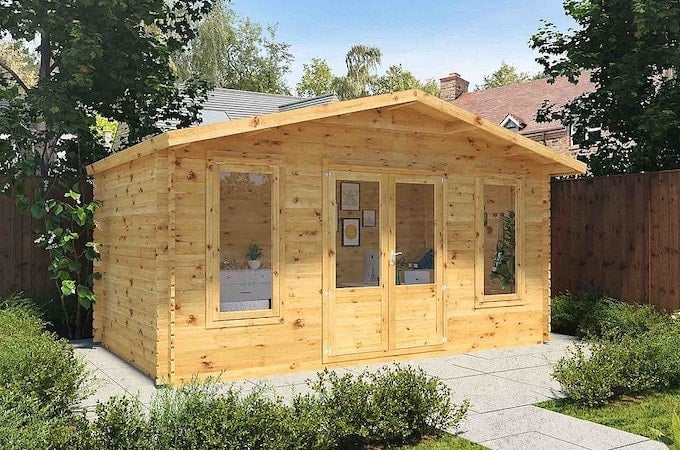
Image: The Silver 5m x 3m Log Cabin from Waltons
The ideal building for a home brewery is a log cabin. More substantial than a shed, a log cabin is constructed from thick timber ‘logs’ which slot together to create a solid and sturdy building.
Waltons log cabins come with single or double glazed toughened glass windows and can be insulated and hooked up to water and electricity for year round use. They come in a variety of styles to suit all types of gardens – from rustic to contemporary. You might also consider a corner log cabin to make use of an otherwise neglected or shady area.
If you take your homebrew seriously, it’s important to be as self-contained as possible. As well as a place to store all your kit you’ll also want running water, light, electricity and a means to control the temperature. Otherwise you’ll need to locate your log cabin close to the house so you’ll have easy access to all the amenities.
How to set up your shed

Image: Shutterstock
To get started, this is the basic equipment you’ll need to start brewing beer in a shed:
- A strong and sturdy table to use as a work surface
- An easy to clean floor, such as lino
- A sink, or access to water - cleaning and sterilising is important
- Shelving to organise your equipment
- A fridge to store fresh hops (or fridge/freezer)
- A boiler, or access to a stove
- Metal containers to store grain safely away from pests
If you want to get more technical, you could divide your shed into three zones - a main brewing area, a storage area, and a clean area for propagating yeast and basic lab work. Brewing may be an ancient craft, but it’s a scientific one!
Making your homebrew

Image: Shutterstock
If you’re new to homebrewing, it might be easier to invest in a starter kit that comes with everything that you need. Otherwise, you should collect the following equipment:
- Fermenting bin and lid
- LCD thermometer
- Syphon – a tube-like device used to transfer the liquid
- Hydrometer - for measuring alcohol content (not essential)
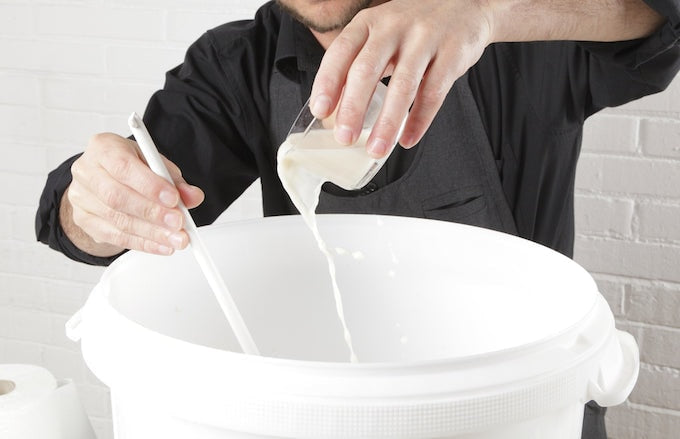
- Wooden spoon with long handle – for stirring
- Steriliser – to clean all equipment
- Bottles, bottle tops and a capper ( a device to crimp tops to bottles making them airtight) OR storage barrels (barrelled beer needs to be consumed within 2-3 weeks after being broached)
- Storage boxes
- Kettle
- Measuring jug
- Alarm clock
Homebrew methods

Image: Shutterstock
Your shed is all set up, so how do you start making your homebrew? First you’ll need to decide what you want to brew and what method you’re going to use.
There are three main methods from which to choose, depending on how much control you want to have over the finished product. Many brewers progress through these methods in order as they ‘graduate’ through each stage.
- The easy method - beer from a kit
Standard kits usually include liquid malt extract, hop pellets, brewer’s yeast and priming sugar. They start at about £10, but if you pay a bit more (around £20) you’ll find that the kits have slightly more malt extract. There’s no need to find your own recipe and you should get a good result as long as you follow the instructions.
- The medium method - malt extract brewing
The next step up from using a kit is malt extract brewing. Quite simply, all you need to make beer is sugar (in the form of malt extract), a bittering agent such as hops, yeast and water. That’s it. Find a recipe you’d like to try, and give it a go. Once you get more confident, experiment with different malts and hops to change the flavour of your brews.
- The expert method - all-grain brewing
All-grain brewing is how craft breweries make their beer, but don’t let the word ‘expert’ put you off. Follow each step carefully, and the results will be well worth the effort.
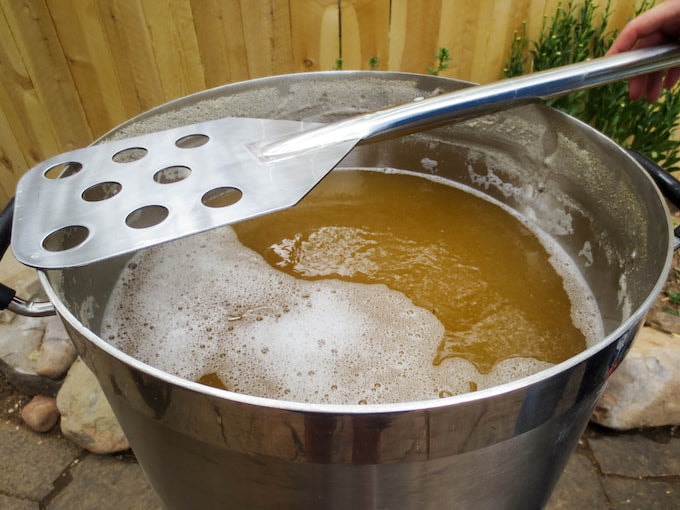
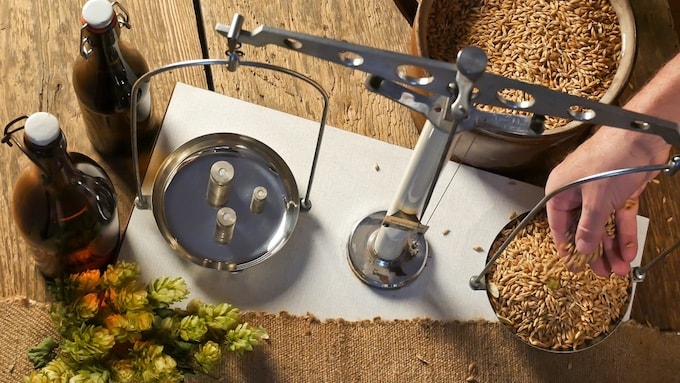
This process starts with malted barley. You convert the starches to sugar yourself by heating them to a specific temperature in a process known as mashing. (This extra step replaces the shortcut of using malt extract.)
All-grain brewing gives you ultimate control over the flavour and quality of your final beer, as you control everything that goes into it. You can design and name your own blends, but keep strict records so you can replicate that award-winning beer again and again once you’ve discovered it.
Five tips for better shed brewing

Featured: The Holly 3m x 3m corner log cabin from Waltons
- Sterilise - Scrub all your equipment carefully using unscented cleaning products. Then sterilise and rinse thoroughly. Most home brew failures can be traced back to poor sterilisation.
- Invest in quality equipment - An all-grain kit is a replica of a real micro-brewery and should last a lifetime. If you’re serious about home brew it’s worth the investment.
- Use good quality ingredients - Just like any food and drink, the outcome will be affected by the quality and freshness of your ingredients. Use fresh hops (stored in the fridge), freshly ground malt, and wet yeast rather than the dried variety.
- Experiment - Once you’ve mastered a few basic recipes, try changing things to see what effect it has on the finished brew. Hard water area? Filter your water or try bottled. Keep a record of things you’ve tried and rate the outcomes in a spreadsheet.
- Accept feedback gracefully - You’ve made it yourself and you’re rather proud of it, but don’t be disheartened if people don’t give you the feedback you’d like. Take it constructively and use it to improve your brew. Tiny tweaks can turn a good pint into something truly magnificent.
Now you have a guide to help you set up your own brew-shed, what’s stopping you? Friends and family will love visiting the best beer garden in town - and your barbecue will definitely see some serious action!
If you decide to create a brewery or pub in your shed, we’d love to see the photos - visit our Facebook page and share your stories.
Lead image: Adam Wilson/Shutterstock


