Water leaks are the enemy of sheds and their contents. Good planning and regular maintenance extend the life of your shed, and help protect the tools and equipment you store inside.
Take action now to waterproof your shed by following our free step-by-step guide to protecting your shed from the elements.
At a glance:
- Start with your shed base – get it right before you build your shed
- Apply regular timber treatment to prevent rot
- Inspect weak points like windows and doors
- Clear gutters and ensure adequate drainage
- Make sure your roof doesn’t leak
- Ventilate to prevent damp
Build the right base

Image: 6 x 8 Reverse Overlap Single Door Apex Wooden Shed from Waltons
If your shed is in contact with the ground, it will get damp. That’s why it’s so important to make sure that, before you construct your shed, you build a wooden base for it to sit on, or lay a patio or concrete slab.
A wooden base keeps your shed watertight by raising it off the ground, allowing air to circulate underneath. It should be made of pressure-treated or tanalised timber to help it withstand rot. While this is fine for small sheds sited on lawns where drainage isn’t a problem, larger sheds will require a more robust base.
Installing a paving slab or a concrete base is a great solution for those who’re comfortable with fairly heavy-duty DIY. Consider adding a damp-proof membrane and, to ensure good airflow, do consider sitting your shed on a wooden base or floor bearers, on top of the concrete or patio.
Treat with wood preservative
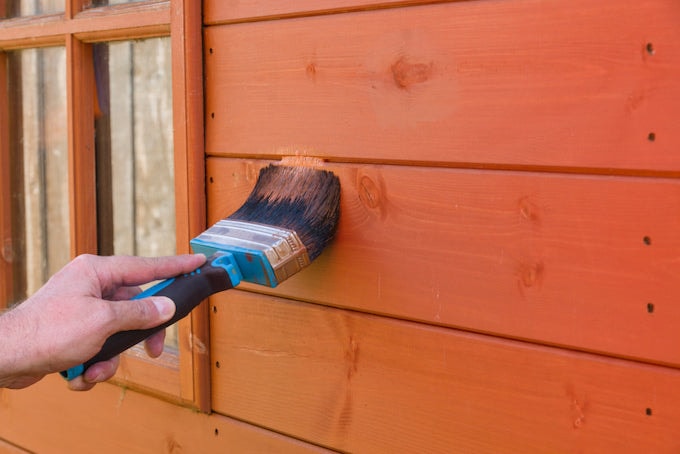
Image: Shutterstock
Even if you’ve bought a shed with a ten-year guarantee against rot, you still need to treat it with wood stain every year. That’s because, while the initial pressure treatment is extremely effective against fungus and insects, its strength weakens over time. To keep your shed in optimum condition, you need to top it up.
When you position your shed, be sure to leave plenty of access room so that it's easy to maintain and apply wood treatment. It also ensures there’s good airflow around the building which helps keep it dry and damp-free.
Use a quality water or spirit-based stain. Water-based stains are quick drying and contain far fewer volatile organic compounds than spirit-based products, although some say they’re trickier to apply. It’s certainly true that solvents make for a thinner, more spreadable fluid but they are somewhat slower to dry and far more toxic.
Check your doors and windows
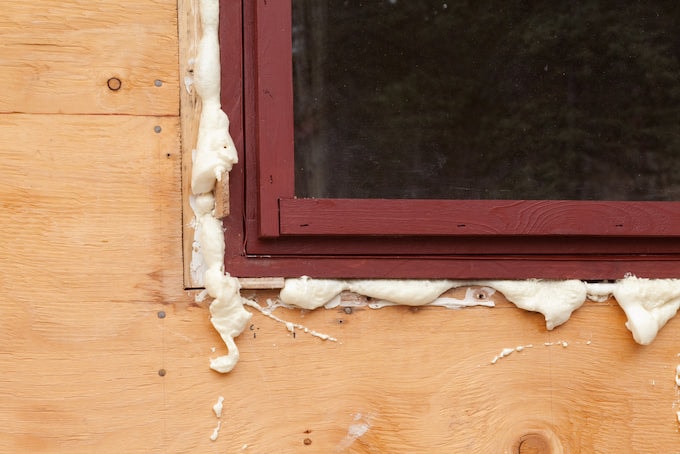
Image: Shutterstock
Wooden window and door frames need regular attention to keep them in good condition. Over time, wood shrinks causing cracks and chinks to open up – space through which water may penetrate. Check for gaps and fill them with expanding foam, builder’s caulk, or by applying wooden splines.
Fill gaps around doors by fitting draft excluder tape. Ideally, your door should have a threshold to stop the rain from blowing in under the bottom. If not, you may be able to improve the seal by fitting a weather bar.
Check your window sills, frames and external doors for rot by probing the wood with a screwdriver. Dig out any soft patches and fill with a quality wood filler before sanding and repainting.
Clear gutters and maximise drainage
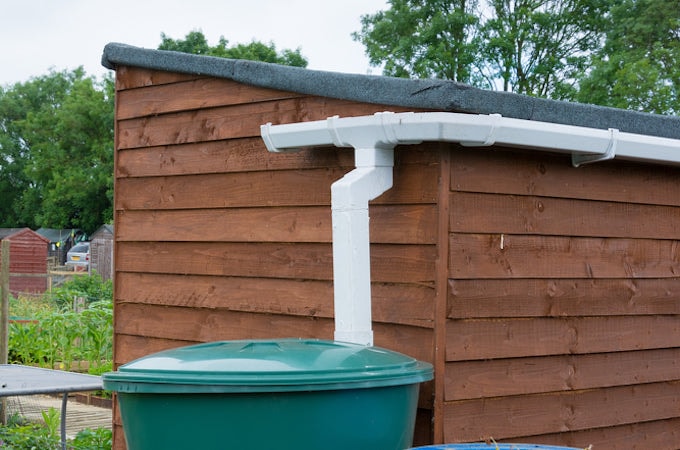
Image: Clifford James
It’s always best to control and direct runoff from your shed roof. You don’t want water to build up in puddles in case they cause flooding. Get up on your stepladder and make sure leaves and other debris aren’t blocking your guttering; if you don’t have gutters, consider installing them. By collecting rainwater into a butt, you can save it for watering the garden during dry spells.
If drainage is a problem, you need to do something about it. Soggy ground and standing water make it very difficult to stop your shed suffering from damp. An easy way to ease drainage issues is by installing a French drain.
Find the lowest-lying side of your shed and, angling your spade away from the building, dig a trench along the outside of the wall. Fill the hole with graded hardcore and chippings. Now surface runoff will drain into the hole rather than building up, and because the water is contained in rubble, rather than soggy soil, it’s faster to drain away and evaporate.
Make sure your roof is sound
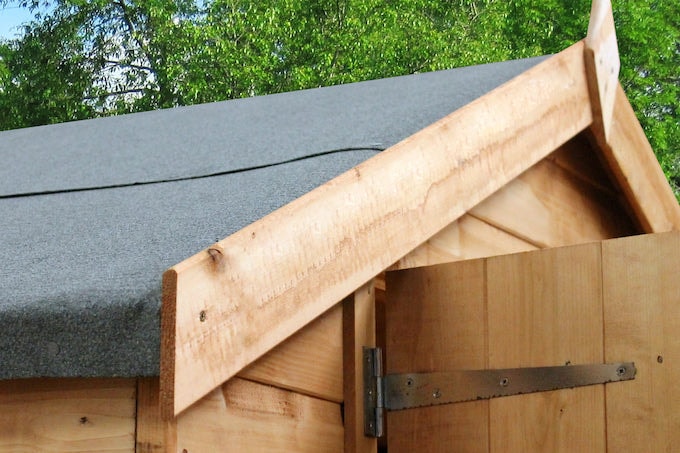
Image: Waltons
Because shed roofs are commonly covered with felt which deteriorates over time, it’s vital to check for damage and wear every year. Pay particular attention to the ridge line and the edges of the roof, as well as any places where the material is nailed down.
Felt is easily patched – all you need is some spare felt and gutter sealant to use as glue. Lift damaged shingles and spray the area underneath with sealant before applying a patch and pressing down firmly. Torn shingles may be repaired by spraying sealant on the lower surface of the rip, and pressing together.
You may want to replace your roofing felt. If this is the case, switching like-for-like is probably the cheapest option. Alternatively, you could go for EPDM rubber sheeting, a durable and long-lasting solution.
Ventilate, ventilate, ventilate
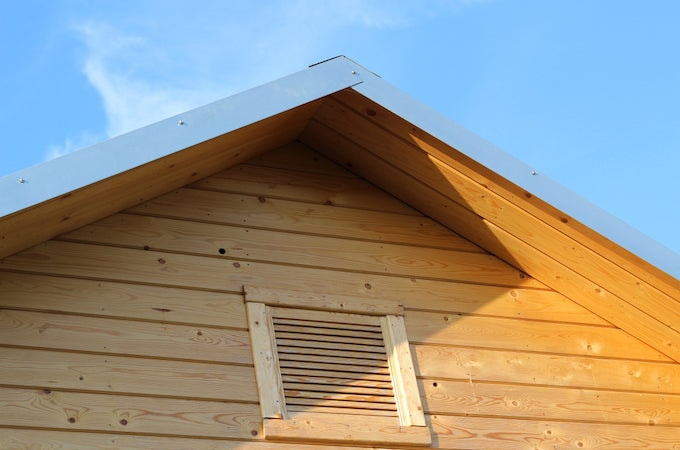
Image: Shutterstock
It doesn’t matter how watertight your shed is, damp days mean damp air, which, unless your shed is well ventilated, means a damp shed. You must at least install a pair of static vents with bug-proof mesh backing, on either side of the building – adequate airflow prevents moisture buildup.
Also consider insulating your shed. When the temperature falls below the dew point, humidity condenses from the air, damaging tools and equipment. By stopping heat leaching from your shed, you’ll make that less likely to happen.
Making sure your shed is fully waterproof helps keep all your tools and equipment safe, and ensures that the fabric of the building lasts as long as possible. Don’t wait until the weather deteriorates to do your annual maintenance – attack the job as soon as you can.


